How to Measure Torque Output from Robotic Tool Drivers
Description
Robots are known for repeatability. Programmed to perform mathematically-defined actions, as opposed to the associative actions taken by human operators, they will make nearly identical motions, over and over, for as long as they’re running. At least, that’s how the story goes on paper. In the real world, parts wear due to friction, lubrication dries in low humidity, dust gets in joints, and plastic, metal, and oil all expand and contract with changes in temperature. The longer a robotic assembly arm stays in operation, the more likely it is to fall out of calibration and deliver non-standard results.
Of course, since the assembly robot is programmed to perform identical actions, once it’s out of calibration, it will begin to perform identically incorrect actions. This will increase an assembly operation’s lost product rate if improper fastening is detected before the piece leaves the assembly floor. If incorrectly fastened products are sent to distribution or delivery, it can lead to liability suits and recalls. As such, it’s essential to routinely measure torque output from robotic tool drivers to ensure they remain in calibration. Here’s how.
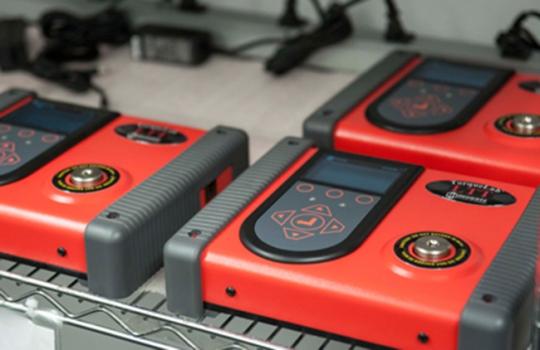
Measuring Torque Output from Robotic Tool Drivers
There are three keys to success when measuring torque output from robotic tool drivers: measure regularly, measure in production conditions, and measure rapidly. Following these guidelines will keep your products on-spec and your tools on the line.
First, measure your tools regularly. Standard operating procedures on your assembly floor should include daily, weekly, and monthly tool measurement, depending on the criticality of your fasteners. When deciding how often to test your tool’s calibration, consider the working life of your product. What could happen if a fastener fails?
For some products, like pacemakers and other implantable medical devices, the repercussions of a loose screw are obviously dire. But even more mundane assemblies, like home appliance manufacturers, stand to suffer consequences if fasteners fail. An overly tight screw in the motor of a washing machine could fail after a mean 20 hours of usage, leading to recalls for every machine assembled by the same robotic tool. This recall would have to be dated back to the last verified calibration test for the tool in question. The difference between weekly, monthly, quarterly, and biannual calibration testing expresses itself as an interval of liability. The longer you go between tests, the more liability you’re exposed to.
Compensating for Friction Loss When Measuring Torque Output
Next, measure in as close to production conditions as possible. Think of a tool’s torque output as a paycheck. Imagine a person with a yearly salary of $70,000. Does that mean they take $70,000 home to put under the mattress? No. There are taxes off the top, then rent or mortgage payments to make, then bills, food, entertainment, etc. The actual amount of money that person gets to keep is significantly diminished once external factors are taken into account.
For robotic torque tools, the primary external factor is friction. A tool which produces 7 lb-ft of torque in the air will actually deliver significantly less than that once the inertia and friction of the fastener, joint material, and spacers (such as washers and gaskets) take their toll. So, testing a robotic tool driver on a standard torque tester, which lacks these external factors, won’t return accurate calibration information. A tool which reads as within tolerance may, in fact, be chronically under-torquing fasteners. Or, if working on a highly lubricated joint, it could be over-torquing them.
A rotary torque sensor is a good tool to test the actual torque being applied on the assembly application. These torque sensors attach at the head of the tool and measure the tool’s output on the actual joint it is fastening. This takes into account any friction loss and inertia the tool’s operator must overcome, providing an accurate measurement.
So, in order to measure rapidly—and to keep your tools working productively for as much of the day as possible—combine methods. Use a rotary torque sensor to determine how much torque your robotic tool driver actually needs to put out in order to properly fasten its joint. Then test it in the standalone torque tester using that adjusted value, not the bare value provided in the engineer’s specifications or a basic fastener torque chart. Using this method, you can accurately test your robotic tool driver’s calibration in a minute or less on a daily basis.
By routinely testing the calibration of your robotic tool drivers, you can reduce lost product due to the improper fastening of joints. At the same time, you’ll reduce your exposure to risks such as recalls or litigation due to severe or widespread product failure. To measure calibration, use rundown adaptors to determine the actual torque output needed to fasten each joint. Then test your tools using that value in standalone torque testers on a frequent basis.